With older iPhones we had to know how to delete photos from our iPhones in order to free up space and make room for apps, music, and more pictures. Now the iPhone is designed with plenty of storage space so that’s not always an issue. More often than not we need to know how to delete all the photos from our iPhone or remove photos from our iPhone to protect our privacy. But sometimes, people want to delete all the photos from their iPhone along with their other personal information because they want to give the phone away to a friend or family member. In that case, the information they really need is how to wipe an iPhone. For that reason, this post will cover how to delete all photos on an iPhone, and how to erase and restore an iPhone to factory settings as well.
Related: How to Transfer Photos from iPhone to Computer (Mac, PC, iCloud, & Airdrop)
How to Delete All Photos from iPhone
If you need to clear out photos for privacy reasons or if you just want to free up some space on your iPhone, you can delete all the photos from your iPhone relatively quickly using this process. This will help you remove photos from iPhone in a hurry without selecting them one by one to erase. Here's how to delete all photos from your iPhone:

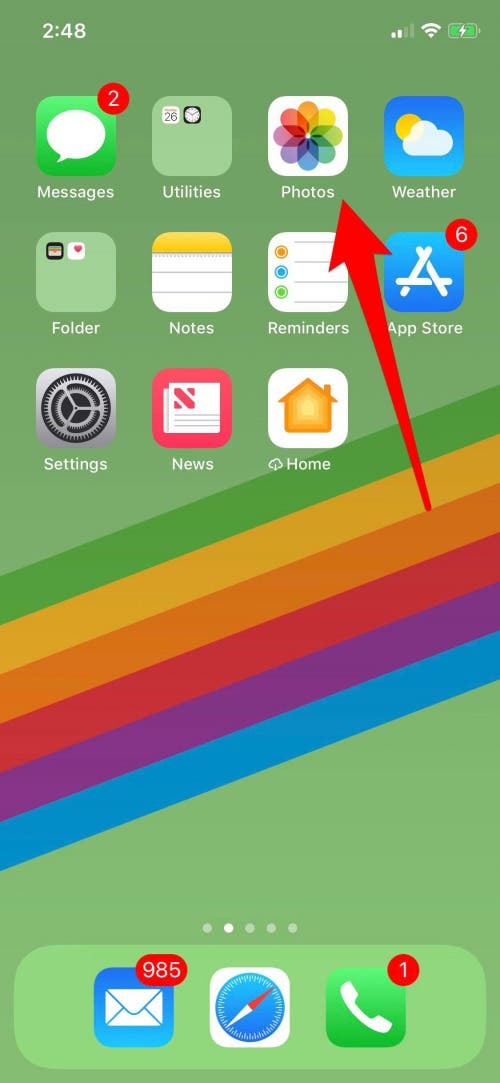
- Open the Photos app.
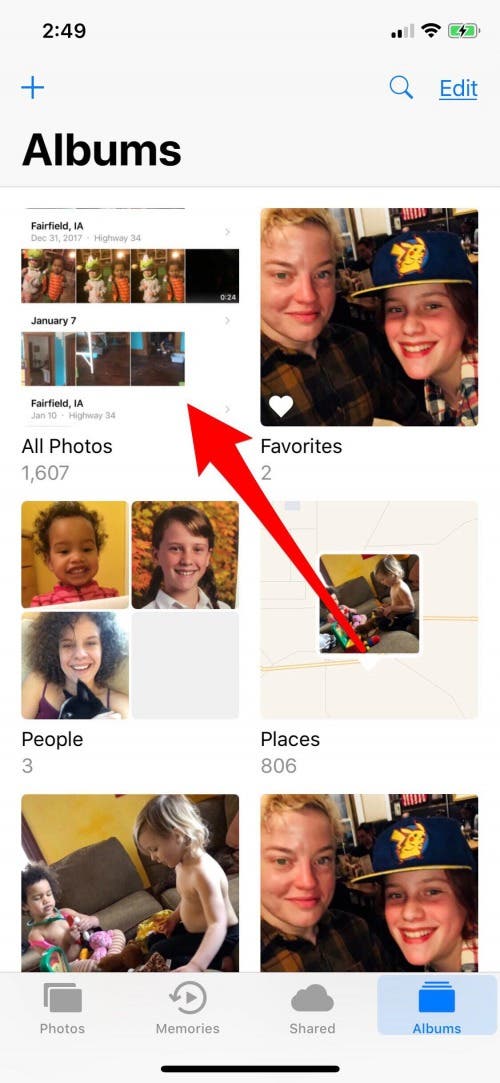
- Select the Albums tab on the bottom.
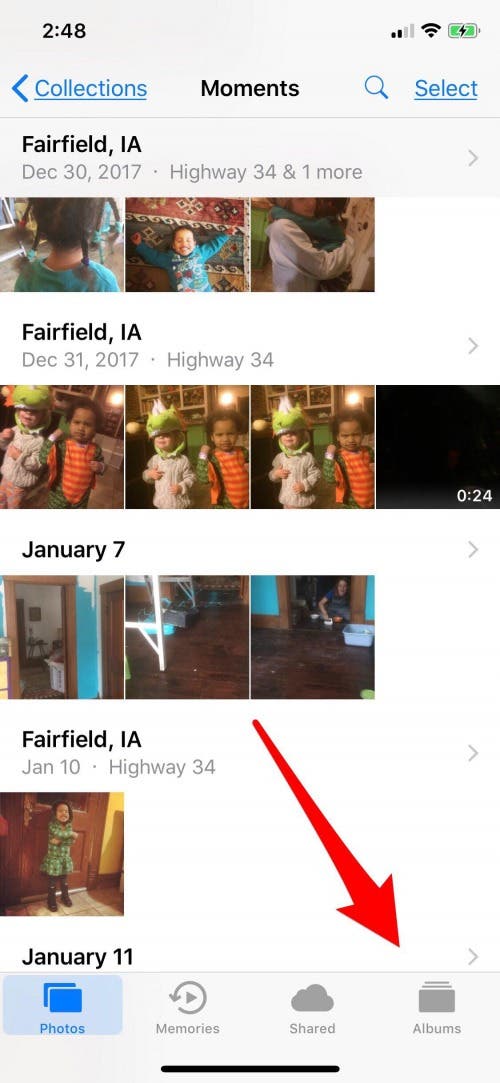
- If you have iCloud Photo Library enabled, select the All Photos album. If you are not using iCloud Photo Library, select Camera Roll.
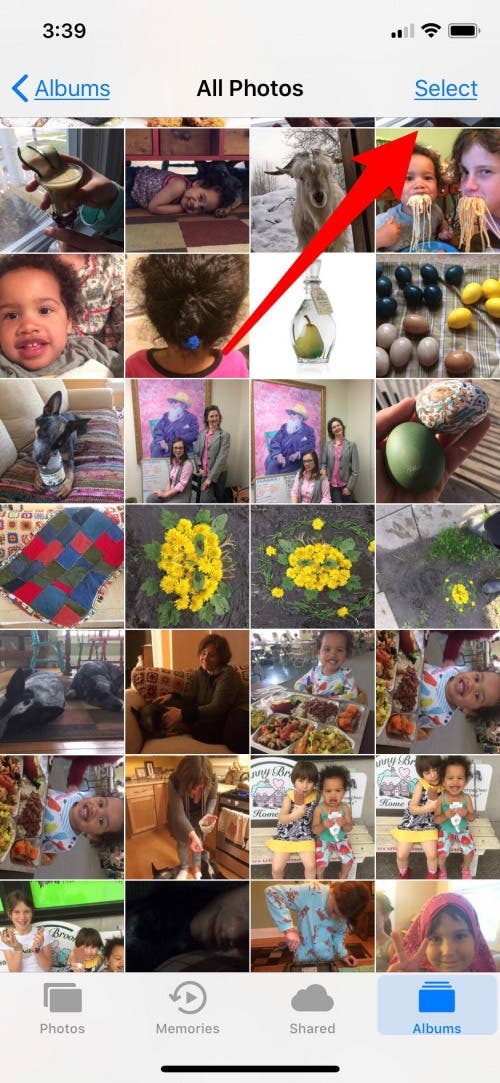
- Next you will need to tap Select in the upper right hand corner.
- Take your thumb and select a photo, then without lifting your thumb slide to the left.
- Leave your thumb in contact with the screen while you tap the clock at the top of your display.
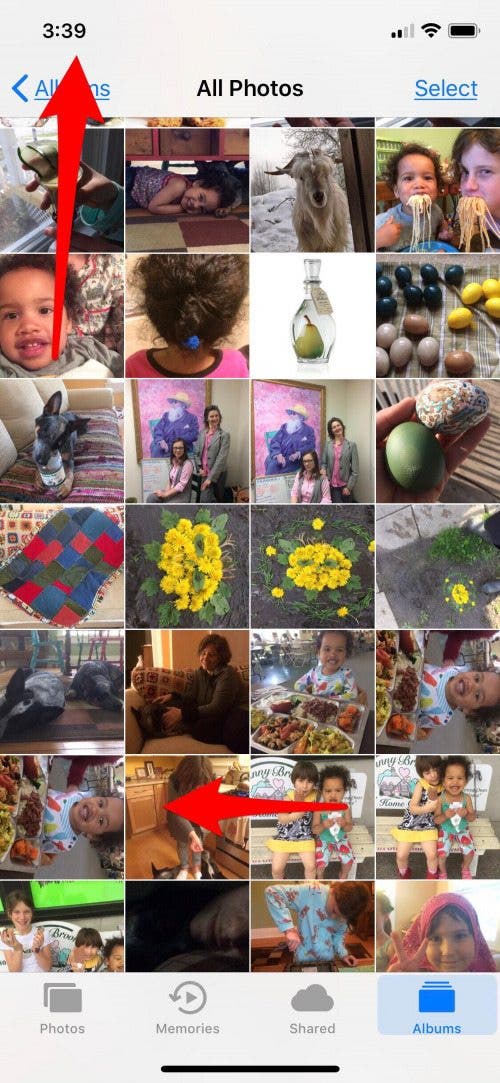
This trick should allow you to select over a thousand photos to delete at once. If you can't get the hang of it, you can also slide your finger individually down along the photos until you have selected all of them. (This requires having iOS 10 or later installed on your iPhone.)
- After you have selected all the images to delete you can, tap the trash icon in the lower left corner.
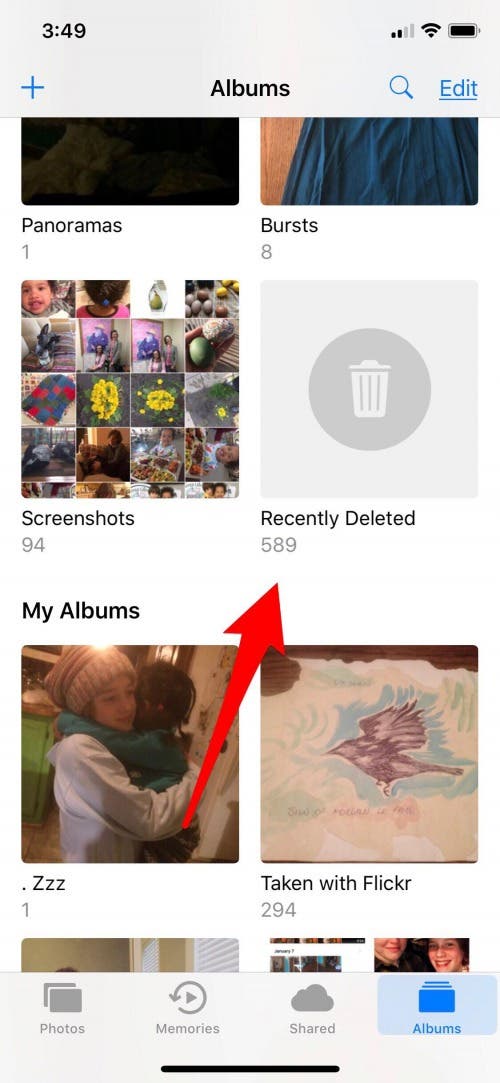
- Make sure to complete the process of permanently deleting all photos from your iPhone by returning to albums and opening the Recently Deleted album, and tapping delete all in the lower left corner. Otherwise your photos will remain on your iPhone for an additional 30 days.

How to Wipe an iPhone
If you are trying to delete all photos from your iPhone because you want to wipe an iPhone, make sure you backup your photos, contacts, or apps before you complete this process; once you wipe an iPhone it will delete photos from the iPhone, clear the iPhone, and delete everything. That’s great if it’s intentional, not so much if you need those things in the future!
You can wipe an iPhone and remove photos from iPhone at the same time using this process.
- Open Settings.
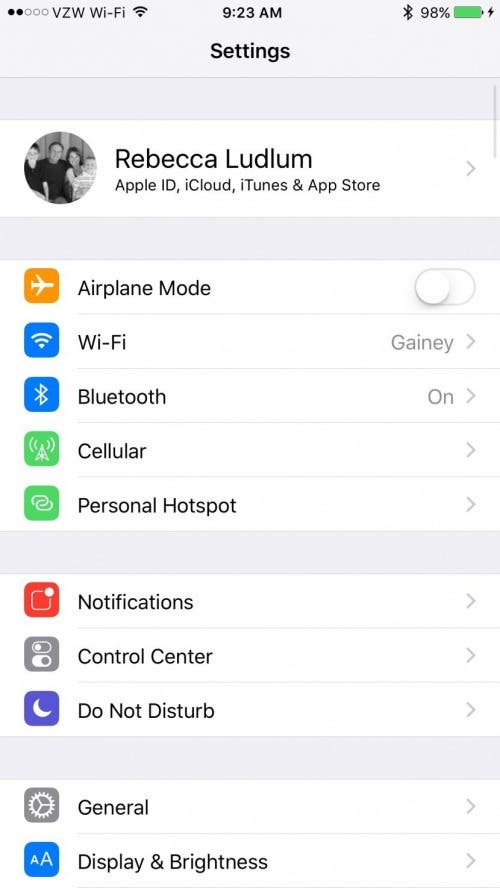
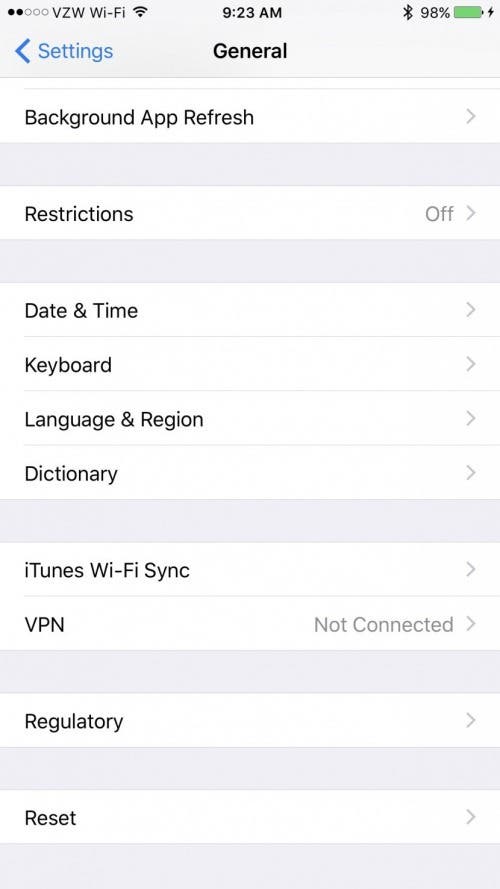
- Tap on General.
- Scroll down and tap on Reset.
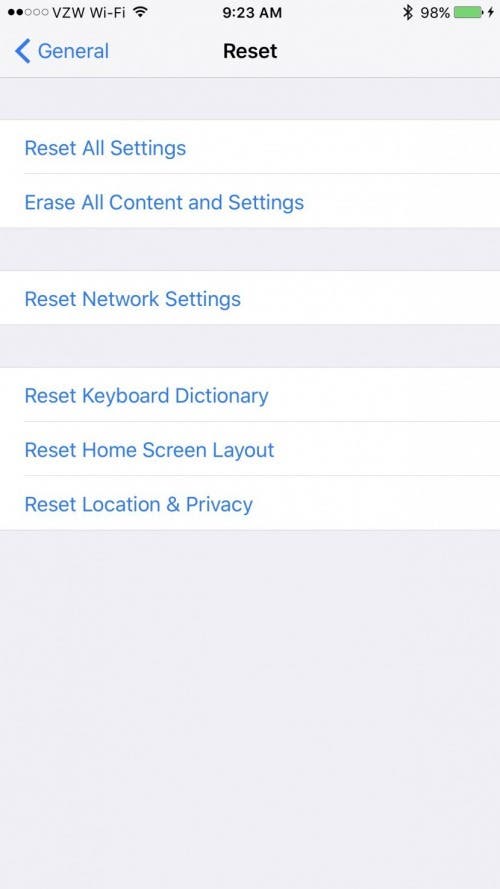
- Choose Erase All Content and Settings.
- Next, to confirm, select Backup then Erase or Erase Now (if you've already backed up you iPhone.)
Why You Should Erase & Reset Your iPhone Before Selling or Giving It Away
You might be wondering why you need to clear iPhone before sending it off to a friend or family member. You might think it’s odd to delete photos from iPhone if it’s just going to someone you know or trust. One of the main reasons you should always erase and reset your iPhone before selling or passing it off to a friend is to ensure that your personal information stays secure.
Your personal information is stored on your iPhone, including everything from sites you shop with to browsing history, and images. Those things could be secure with a friend or family member but if the phone gets stolen from them or they eventually pass it on to someone else, you might not be so secure.
The process above is quick and easy. It makes sure that your phone is squeaky clean to head on to it’s new owner. Do your part to protect your digital identity and make sure to delete all info from your iPhone before selling. Clear an iPhone for friends and family to help avoid syncing and connectivity issues as well! The iPhone can be difficult to manage with two identities stored in one phone. You may have upgraded and be signed into a new phone but your contacts and images might start disappearing when your friend or family member deletes what they think are old or unneeded information. Because iCloud works to keep your info up to date across devices, you will still have info being pushed to and from that device, which can be confusing for you and the new phone’s owner.